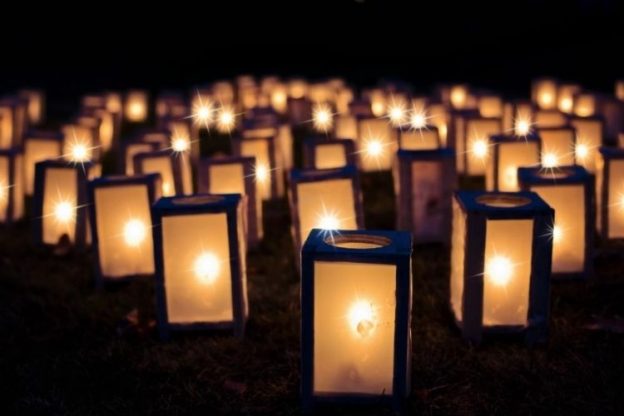
Sooner or later, every owner of a summer cottage or private house thinks about the need to equip the lighting of paths in the garden. And the motivating motives lie not only in the desire to decorate the territory in an unusual way, but also in the elementary desire to move safely through it at night.
With the help of small lanterns, gradients of colors and shadows are combined, alpine slides turn into fabulous oases, and small corners of the garden turn into mysterious thickets.
Getting started with lighting planning
In order to create not just a set of luminous points, but a well-thought-out composition, it is necessary to take into account several conditions, without which successful lighting of garden paths is impossible:
- Before you start marking up the plan for future fixtures, you need to create an approximate site plan. The drawing should contain all large buildings, country paths, trees and bushes.
- The plan indicates the two areas that most need lighting. At a summer cottage, these are, as a rule, paths, steps, a porch, etc.
- Before purchasing all the equipment, it is necessary to try out the fixtures in real conditions. To do this, it is enough to turn on the purchased test copy at nightfall.
- This is the only way to understand whether this model is suitable.
- If the backlighting of garden paths is carried out in a country house, then multi-season devices are selected. These lamps can be used in any weather conditions.
The factor of light comfort must be taken into account. Bright blinding spotlights will destroy all the beauty of the landscape. - It is advisable to illuminate the edges of the garden, because the darkness in the depths of the site causes discomfort.
Types of luminaires according to the principle of operation
- Incandescent lamps. Low brightness of 15 lm / W and short service life (no more than 1,000 hours).
- Halogen lamps. The operating time is twice that of an incandescent lamp, but the light output remains the same.
- Metal-filled halogen lamps. High luminous efficiency of 100lm / W. The operating time reaches 12,000 hours. The peculiarity of such lamps is that they emit light with the effect of a natural source. When placing such lamps in the garden, you need to remember that they quickly heat up and can burn the leaves of plants.
- Fluorescent lamps. The light emission is 80lm / W, the service life is up to 15,000 hours. But these lamps are quite whimsical, since they require insulation with a moisture-proof housing and often refuse to work even with slight drops in temperature. Massive luminaires with a fluorescent lamp inside are often impractical, difficult to install and use.
- Sodium lamps. They differ in the most significant performance characteristic among all the above types: up to 200lm / W. The duration of work reaches 28,500 hours. Well suited for creating unusual compositions, as they emit rich yellow and orange light.
- LED lamp. The most expensive lighting devices, but their purchase will certainly pay off, since their service life is more than 30 years! Average light output – 160lm / W. The color mode can be selected from several options.
The choice of the luminaire at the place of installation
Since each type of lighting technology has a unique set of properties, it is worth considering the most popular options:
- Floor lamps. As a rule, they are quite massive and decorated in a certain style. Site owners can choose from a variety of designs: “modern”, “minimalism”, oriental lanterns. Floor lamps are mounted along the main path towards the porch.
- Lanterns markers. Serve as identification marks in dark areas.
- Glowing tiles. Illumination of paths from paving slabs is carried out by installing it simultaneously with laying the stone.
- Luminaires with solar panels. Well suited for background lighting and site decoration.
Lighting system installation
In order to avoid problems with wiring in the future, it is necessary to provide for the need to place an electric cable under the paving slabs, porch, etc. In this case, it may be necessary to conduct side wires and a switch. When installing the lighting of the paths with your own hands, you need to foresee the presence of an insulating tube for the cable in advance.
Having outlined the points of light and placing devices on them (not yet finally mounting them), you can start wiring the cable. It is recommended to leave an additional 30 cm of wires near each flashlight. In the future, the spare length will allow you to easily adjust the position of the device and the distance between the points of light.
Connecting the wire to the lamp is usually straightforward. The luminaires are connected with each other by a special device shaft. At the final stage of installation, it is important to provide that free access of children to the transformer is impossible.
